Scope
After our previous success at setting up our Jenkins build server, we are now looking into an automatic deployment process for our nopCommerce projects by using
Octopus Deploy.
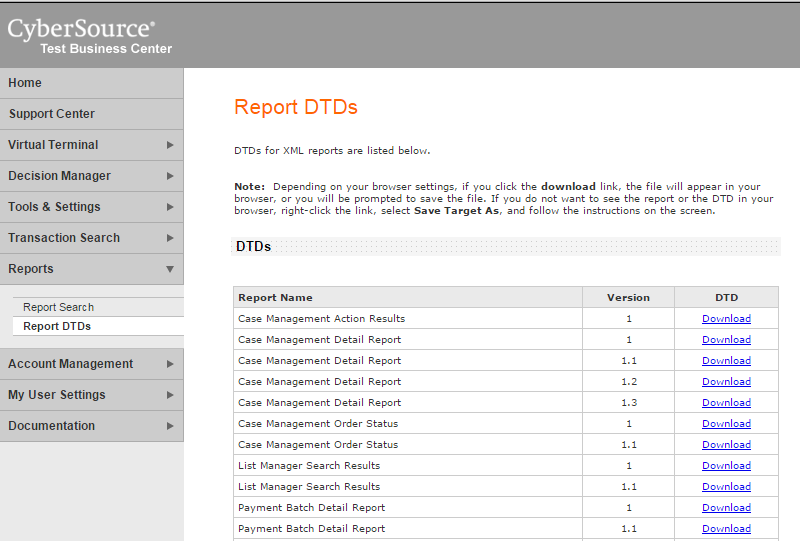
Octopus Deploy
Octopus Deploy installation is straight forward and the
wiki page is very detailed.
After setting up our
server and
tentacles, we have to bundle our artifacts into NuGet packages for Octopus Deploy to consume.
NuGet
NuGet Spec
NuGet Pack
Personally, I prefer to use NuGet Pack to do all my packagings as that will give me more power and better control. Unfortunately I ran into this
issue that is related to the way how nopCommerce structure their project folders and I cannot change.
It is a misfortune that I have to combine the build process and packaging process into one command, I would have preferred to use NuGet Pack in a separate process for better granularity control and easier for troubleshooting. Life is imperfect and I am resort to my second option -
OctoPack.
NuGet Explorer
NuGet Explorer is a tool that can examine the .nupkg NuGet packages. It is a very helpful tool that we can troubleshoot what is in the package content.
OctoPack
From Visual Studio, we installed OctoPack via NuGet on our Web Project only.

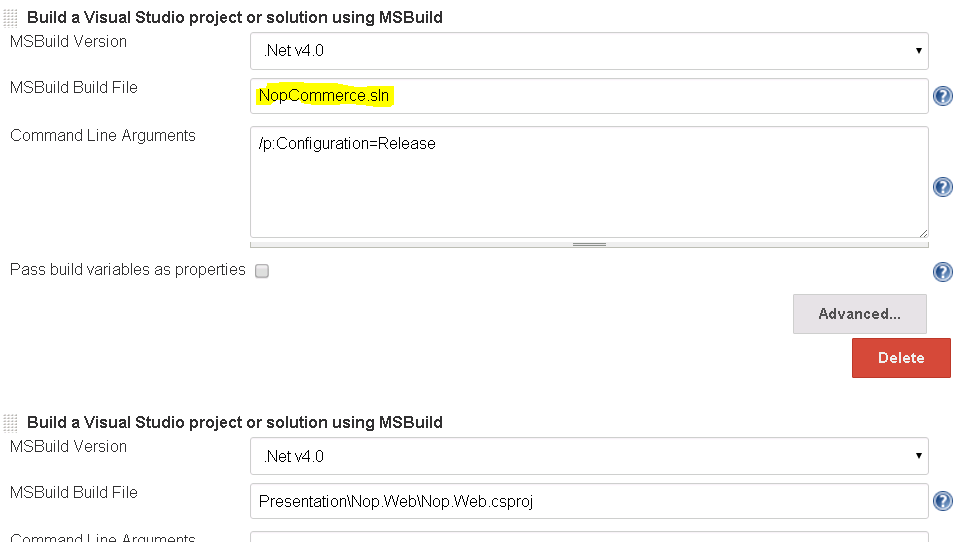
In our Jenkins build server, we created a new job that only responsible to build the artefacts. It is similar to the existing build only job, but with extra parameters in the MSBuild command.
This will trigger the OctoPack to run, using the Release Configuration in .Net, and uploading the package to our Octopus Server package folder by using an
API key.
MSBuild .\NopCommerce.sln
  /p:Configuration=Release
  /p:RunOctoPack=true
  /p:OctoPackEnforceAddingFiles=true
  /p:OctoPackPublishPackageToHttp=http://yourUrl/nuget/packages
  /p:OctoPackPublishApiKey=API-YOURAPIKEY
The packages will became available in our Octopus Library.
In our Jenkins Server, we ran into an issue that any builds afterward will always fail and the error message is related to OctoPack.
Pushing Nop.Web 3.3.5791.28374 to 'http://octopus/nuget/packages'...

  Failed to process request. 'Bad Request'.

EXEC : The remote server returned an error : (400) Bad Request..
If I delete the package from the Octopus Library and a build will work again.
To resolve this, we need to increment the version number every times we build an artefact. The easiest way to do this is adding an OctoPack switch in our MSBuild command.
/p:OctoPackPackageVersion=3.3.${BUILD_NUMBER}
nopCommerce
One of the biggest challenge in this exercise is not just about Octopus Deploy but to get it to work with the nopCommerce. As I mentioned before, the nopCommerce structure is not NuGet friendly and the underlying technology of OctoPack is by using NuGet Pack anyway, so while I was able to dodge a few bullets get things moving, but I still have to resolve some of the known issues.
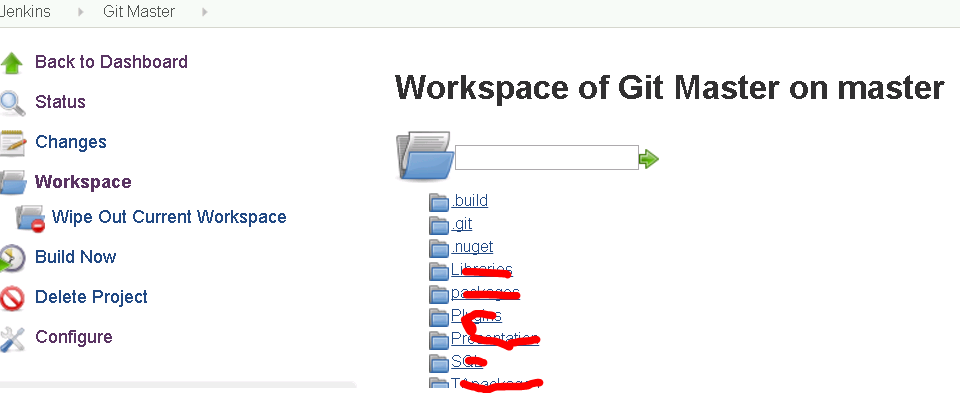
I downloaded the nopCommerce 3.6 stable version and tried to pack it and get the following.
It is noticeable that there are many missing files.
- Administration folder
- Nop.Admin.dll (from the bin folder)
- Plugins folder
The reason is because we are just building the Nop.Web.proj. The Nop.Admin.proj is a standalone project as well as all the plugin projects.
There are different approaches to this but I chose the easiest one just to get things going.
- Include the Nop.Admin project as a reference in the Nop.Web project.
- Add an extra step that builds the NopCommerce.sln. This will pre-build all the plugins into binaries.
- Manually include the missing folders in nuspec so they get picked up during the NuGet / Octo Pack process.
Web Config Transformation
In Octopus Deploy, we are allowed to a web config transformation after we deploy. I have my project name set up that aligned (beautifully) with our project names in Visual Studio, so that I can use the Octopus Variables when I perform transformation like this.
Web.Staging#{Octopus.Project.Name}.config => Web.config
During the transformation, we ran into the following error.
No element in the source document matches 'my_config_keys'
The error is saying a key m
y_config_keys is in our Web.StagingReebok.config but not in Web.config. Octopus tries to transform the key into Web.config and thrown a null exception.
Multi Tenant
Multi tenant support is not yet available in Octopus Deploy 3.2, According to
roadmap, it should be available in 3.3.
In the meanwhile, Octopus Deploy documented
2 possible ways to implement the deployment strategy in a multi tenant environment. I chose the "project per brand" because I have a staging environment for each brands and it is messy to put all machines into 1 project.
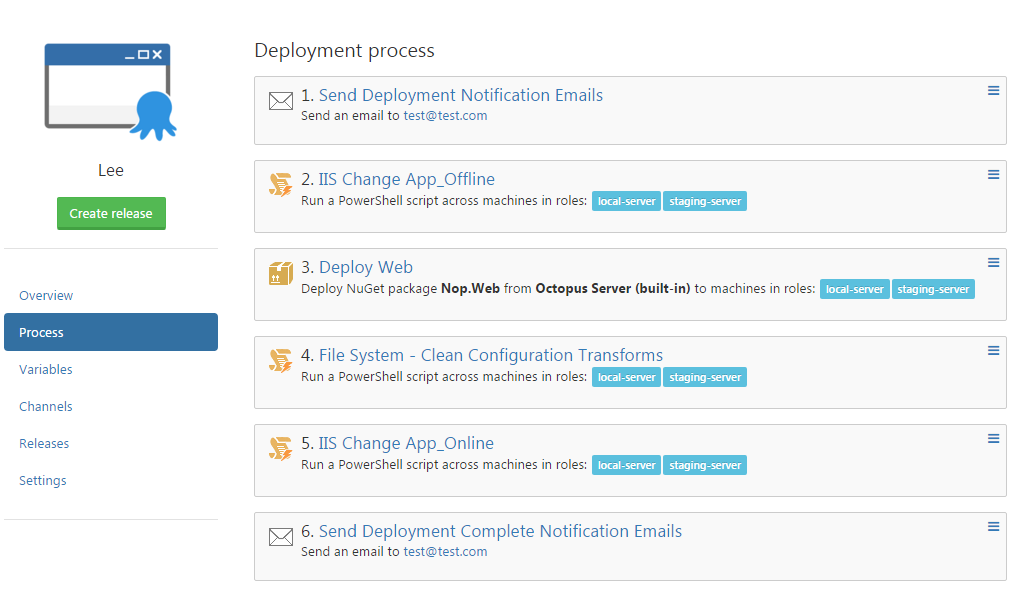
Octopus Deploy Process
We have setup a simple Deployment Process as below.
- Send out notification email
- Change to app offline
- Deploy the package
- Clean up the redundant transformation config
- Bring the site online (from app offline)
- Send out notification email (again)
Octopus Step Template
I have created some custom step templates that were not available in the
community library.
Octopus Notification Integration
I also added a slack integration that will send notification to all developers upon deployment. I found notification is a better channel to communicate than automated emails clogging up in the inbox. As a teaser, our notification channel looks like this.
Conclusion
It is a tedious and enormous job to deploy 20+ websites in our web farm environment. Octopus Deploy was not difficult to setup, and all our deployment jobs are now automatically deployed from our continuous deployment server. Not only we are saving times, but also we are now able to eliminate any possible human errors in our deployment process.