Pages - Menu

Showing posts with label Mobile. Show all posts

Google AMP Hackathon 2017

Google AMP Hackathon

Recently got invited by Google to join their AMP Hackathon at the Sydney HQ. Very exciting opportunity to get my hands dirty with the engineers from the Google AMP team. Here are some prerequisite courses that we have to do before the day.

Hackathon

The performance of AMP is very impressive, it is not hard to see pages loaded in under 2 seconds, and here is the trade off for the speed.
  • No external JS (aka no React / Angular etc)
  • No external CSS (no bootstrap)
  • Inline CSS limit to 50kb
As we can see immediately why the site can be loaded at such lightning speed. As their engineer described, "it is very hard to make amp page to load slow".

During the hackathon, I went for a harder piece of work. I was trying to build the sorting filter in the product listing page by using amp-bind and amp-list, similar to one of this.

This is what a product listing page looks like on our site.


My attempt of our product listing page by using AMP.


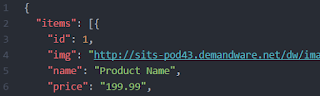
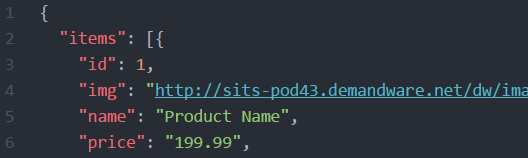
Using amp-bind and json to render the sorting options in amp-list.

<select on="change:AMP.setState({
  src: '/json/related_products'+event.value+'.json'
})">

<amp-list class="items"
  width="600"
  height="900"
  layout="responsive"
  src="/json/related_products.json"
  [src]="src">

The last part is to assemble the json for the amp-list to consume and presented by amp-mustache. The json is exposed from our back end system.


PWA

In their presentations, we also briefly went over the PWA stuff. Seems like an interesting combo to use both AMP and PWA by using the amp-install-serviceworker component.

Additional Readings

Photos

Had a little guided tour in the office and snapped some photos with my mobile phone.


Corridor and lift area look like a train carriage.


Migrating a Website from Bootstrap 2.x to 3.x with SASS and AngularJS

 Scope

My photography website was developed by using Bootstrap 2.x. Here are some technical details about my site.
  • A small website with less than 10 HTML pages.
  • Hosted on AWS S3 with static content only.
  • Since it is on S3, there are no backend languages allowed. C# or php are off the limit.
  • Contact Us form is a 3rd party service iframed somewhere else.

I was quite happy with it for several reasons.
  • Responsiveness.
  • Simple and efficient with no backend developments.
  • Extremely cheap and fast with AWS S3.
  • Does the job well for my purpose. 
  • UX score of 100 by Google PageSpeed Insight


Unfortunately, it has some downsides though.
  • There are no one header and footer file for the site. Therefore, a lot of copy and paste to do between pages just for the same piece of code. 
  • The hover status of the nav bar is hardcoded. :(
  • CSS and JS are not optimized.
Recently my designer did a makeover design for my site as she described my site as "dull and boring" :) I thought I might as well upgrade my site to a newer version of Bootstrap as it is more mobile friendly..

Bootstrap

Firstly, we will download our Bootstrap source and extract to our local folder.


According to the spec, I could just use the Bootstrap distribution version for my purpose, but as a developer, I wanted to see what's in the goody bag by getting my hands dirty.

As Bootstrap 4 is moving from Less to Sass, so I've decided to go with the Sass port for a comfort of future compatibility. It is currently at v3.3.5, so this is what we are going with.

Sass (Syntactically Awesome StyleSheets)

Setup

Firstly, we need to install Ruby. Then we will use Gem to install the sass package.

$ gem install sass

Now we will be able to use Sass to compile our css. There are many ways in using Sass.

And a more advanced approach will be using the Compass.

$ gem install compass
$ cd $/bootstrap.sass/assets
$ compass init

After we run these commands, it will install the compass and initialize a compass config file with some stub css files. A message in the console would look like this.


In order to work with the Bootstrap structure, I moved the stub files from $/sass to $/stylesheets, and changed the path as follow.

http_path = "/"
css_dir = "css"
sass_dir = "stylesheets"
images_dir = "images"
javascripts_dir = "javascripts"

Compass commands are quite straight forward. The following command will compile the sass files manually.

$ compass compile

We can also use the watch command to recompile automatically when there are changes made to the the sass files.

$ compass watch


Minification

To minify the css files, we can add a compressed switch in the compile command.

$ compass compile -s compressed

Or we can change the default setting in the config.rb file.

output_style = :compressed

I have also created a callback function that will generate different files for development and production environment by passing in a different switch.

In my config.rb, I will set my output style depending on the environment, and we will append the .min naming convention when compressing.

output_style = (environment == :production) ? :compressed : :expanded

on_stylesheet_saved do |file|
 if File.exists?(file) && (output_style == :compressed)
  filename = File.basename(file, File.extname(file))
  FileUtils.mv(file, css_dir + "/" + filename + ".min" + File.extname(file))
  puts "   minify " + css_dir + "/" + filename + ".min" + File.extname(file)
 end
end

We can now control what to output by switching between development (default) and production.

Map File

In order to generate the map files, it can be done via a switch.

compass compile --sourcemap

Or in my config.rb.

sourcemap = (environment == :production)

CSS Vendor Prefixes

In order to deal with the CSS Vendor Prefixes, and because we chose not to use the Gruntfile from bootstrap, we need to integrate our own Autoprefixer.

By following the Autoprefixer Rails guide, we will install the gem.

$ gem install autoprefixer-rails

And we will add a callback in our compass config.rb as follow.

require 'autoprefixer-rails'

on_stylesheet_saved do |file|
  css = File.read(file)
  map = file + '.map'

  if File.exists? map
    result = AutoprefixerRails.process(css,
      from: file,
      to:   file,
      map:  { prev: File.read(map), inline: false })
    File.open(file, 'w') { |io| io << result.css }
    File.open(map,  'w') { |io| io << result.map }
  else
    File.open(file, 'w') { |io| io << AutoprefixerRails.process(css) }
  end
end

Testing it by creating a new test.sass as follow.

a {
    display: flex;
}

After we compile, we now have a vendor prefix css generated.

/* line 1, ../stylesheets/test.scss */
a {
  display: -webkit-box;
  display: -webkit-flex;
  display: -ms-flexbox;
  display: flex;
}

Compile

In our screen.scss (generated by compass init), we will add this line. This will import the partial bootstrap scss to our screen.scss. We can add our custom scss in this file later on.

@import "bootstrap";

Migration

There are comprehensive migration guide done by the Bootstrap team. There are also conversion tool available that will do the boring part of the find and replace job.

AngularJS

I am also ditching the default bootstrap jquery and using AngularJS. It is just a nicer way for me to manage header and footer without using any backend language like C# or php.

This can be achieved by using UI Bootstrap if done correctly.

I need to make some small changes in our html to remove the default bootstrap / jquery js and include angular and ui bootstrap js.

<!-- include angular js -->
<script src="js/angular.min.js"></script>

<!-- include ui bootstrap -->
<script src="js/ui-bootstrap-tpls-1.3.1.min.js"></script>

<!-- remove jquery and bootstrap js -->
<script src="js/jquery-1.9.1.min.js"></script>
<script src="js/bootstrap.min.js"></script> 

Now I am able to use ng-include to add header and footer.

<div ng-include = "'_header.html'"></div>

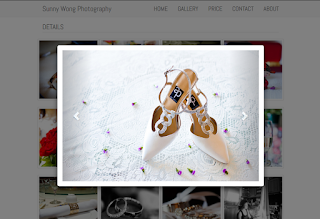
Also, an angular based carousel that can render my image gallery.

<div id="carousel">
    <uib-carousel active="active">
      <uib-slide ng-repeat="f in selected.files track by f" index="f">
        <img ng-src="img/{{ selected.folder }}/{{ f }}.jpg" />
      </uib-slide>
    </uib-carousel>
</div>

Mobile App - Hello World to PhoneGap Cordova + Ionic

Scope

We are going to build some apps in Android and iOS, as I have never done that before, I am going to build a really simple Hello World app that would introduce me to the world of apps. 

Prerequsite

Installations

There are quite a few things to prepare before we can even say hello to the world.
There are many options for choice of IDEs. Popular ones are as follow.

Cordova

Create

Firstly we will create the app by using a command line. This will be compatible for Android and iOS by adding the platforms to the app.

$ cordova create HelloWorld com.helloworld HelloWorld
$ cd HelloWorld
$ cordova platform add android

Setup

Setup Environment variable for ANDROID_HOME. This can be found by opening the Android SDK Manager.


Therefore, we will setup as follow.


Build

We will use our Command Line Interface to build our app as follow.

$ cd HelloWorld
$ cordova build android

If you are a little unlucky, you might run into error like this. Error: Please install Android target: "android-22".


This indicates we are targeting an incorrect version of android. We need to change our target in both places.

HelloWorld/platforms/android/project.properties 
HelloWorld/platforms/android/CordovaLib/project.properties

It will look like this if built successfully.

Test

As part of the Android SDK installation, it comes with the Android Virtual Device (AVD) Manager.

Choose Device Definition and Click Create AVD.


We will launch the AVD that we just created, and deploy our app to the emulator by running this command.

$ cordova run android

If everything ran smoothly, by default it should load up the Cordova Device Ready page from our /HelloWorld/www/index.html


Hello World

Before we begin, we will need to pick a mobile framework to work with. I have chosen the Ionic Framework.

Firstly, we will install the packages.

$ npm install -g cordova ionic

Then, we will scaffold our site.

$ ionic start HelloIonic blank

Similar to our Cordova commands, we can build and run our apps in Ionic commands.

$ cd HelloIonic
$ ionic platform add android
$ ionic build android
$ ionic run android

This time, we have a default page from the Ionic framework.


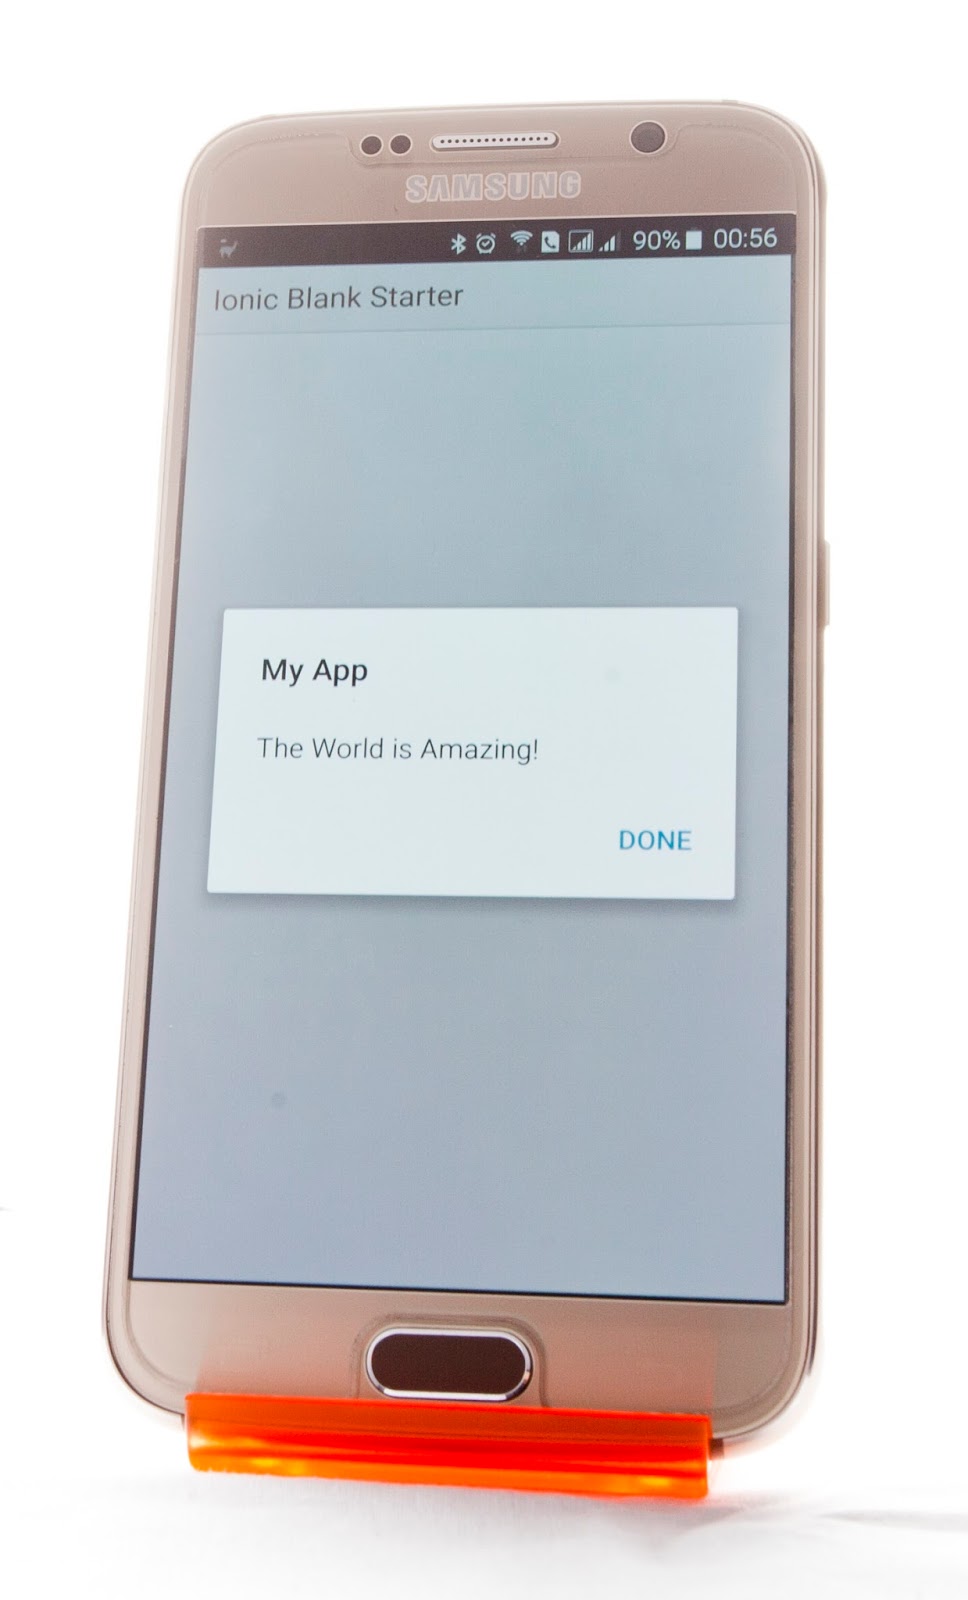
We are going to create some simple notifications. There are infinite ways of doing it. The most simplist form will be this.

alert('Hello World!');

However, we have not much control with the default alerts. The next step for me is to utilize some available plugins to do a bit more customizations. eg. https://github.com/apache/cordova-plugin-dialogs

function alertCallBack() {
 alert('Hello World');
}

navigator.notification.alert(
 'The World is Amazing!',  
 alertCallBack,  
 'My App',       
 'Done'          
);

The first message pops up is 'The World is Amazing!', then a callback function is invoked when the message is dismissed, so the alert message 'Hello World' will pop up.


USB Device

We can run the app not just on emulator, but a USB connected device as well.

Firstly, we will need to setup our device for development.

For my Samsung device, I needed the extra Windows drivers which I was hardly able to find from within the Samsung support page, but with a bit of googling, I found the hidden gem in their developer site.


After installing the drivers, we can connect our device to the computer via USB, we can test if our device is available for debugging purpose by running an adb (Android Debug Bridge) command.

$ <android-sdk>/adb.exe devices


The device is now visible to us and we are just one step away. On our device, we need to authorize our computer for USB debugging. After connecting our device to the computer, a similar screen should popup on your device.


We will run our adb command again. This should now say device after it is authorized.


With our Ionic commands, we can now explicitly specify to run our app in our device.

$ Ionic run --device

It will install and run the app in our USB attached device.


Conclusion

How about iOS? It happens that iOS can only be done in OS X and I don't have any. I tried to add the iOS platform in Cordova with my Microsoft machine, and I got the error as follow. There are some hackintosh way that I could get around the Apple issue, but I will leave that for another project next time.


Took me awhile to get there, but it is all worth it. As a web developer, I am now able to use my existing web knowledge to start building multi-platform mobile apps.